
Hi Guys! In this article, we will discuss how we can deploy the Palo Alto Virtual Firewall in VMWare Workstation. You must have to download Palo Alto virtual Firewall ovf file from your Palo Alto support portal. In this scenario, we will configure the Virtual Palo Alto Firewall in Linux as well as Windows environment. Before starting, it’s required you have a minimum of 8GB of RAM with an i5 or i7 processor. So, let’s start!
Also Read: How to deploy Palo Alto VM Firewall in GNS3
Step 1: Download Palo Alto Virtual Firewall
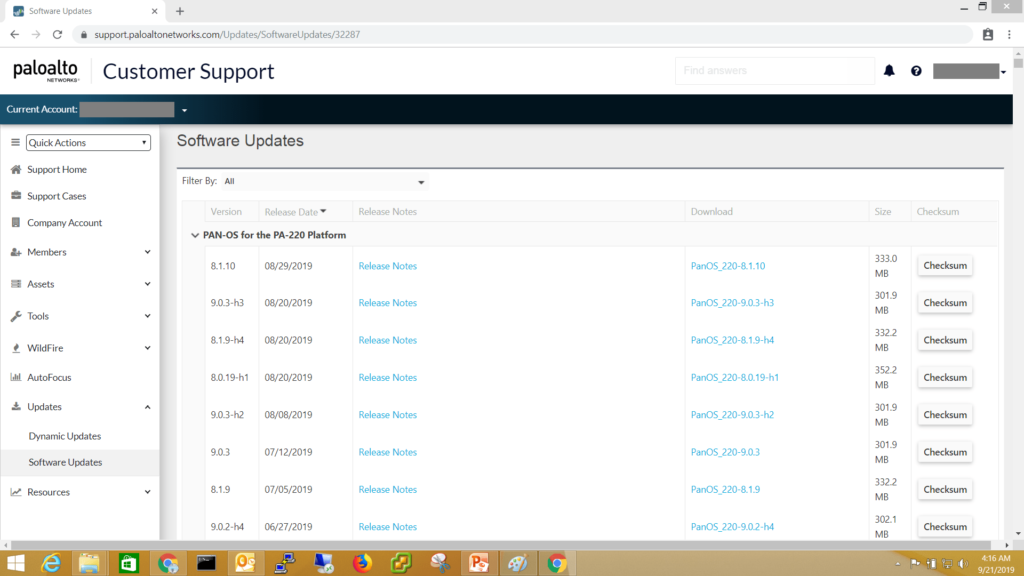
First of all, you have to download your virtual Palo Alto Firewall from your support portal. To do this, just visit here, and go to Updates >> Software Updates as per the given reference image below. By default, you did ‘t get any license associated with your virtual image. So, you have to buy the licenses as per your requirements.
Step 2: Download and Install VMWare Workstation
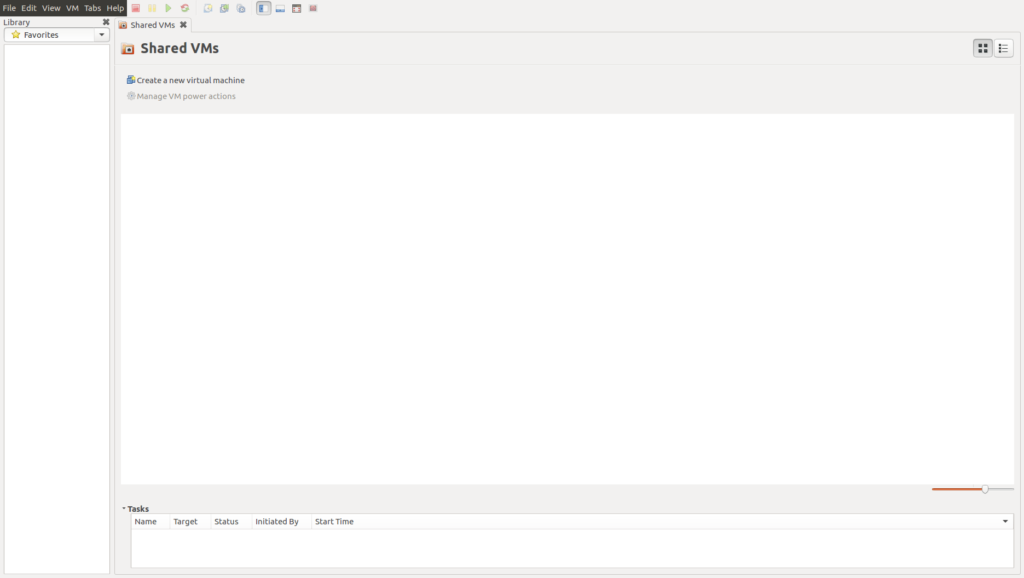
After downloading the Virtual Firewall image, you must have to download and install VMWare Workstation. If you already installed it, just skip this step. To download VMWare Workstation, visit the official website VMWare Workstation or download it from filehippo. By default, you get 30 days evaluation period, after that, you can purchase it. Once you have installed it, it will be looks like the below image:
Step 3: Configuring your Virtual Network Interfaces
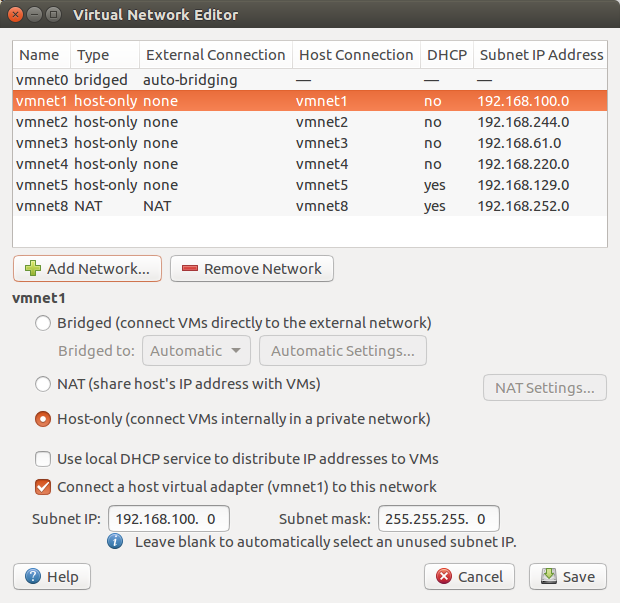
Now, it’s time to configure your Virtual Network Adaptors as per your requirements. By default, there are only two virtual network interfaces, i.e., VMNet1 and VMNet2. So, click on Windows Start Button and search for Virtual Network Editor. If you are using Linux (i.e. Ubuntu, Mint, etc.) you can type the below command to open Virtual Network Editor. Click on the Add Network and make your virtual interface host only. After that, you have to provide the IP address. For example, I am going to use 192.168.100.0/24 for the vmnet1 interface.
[terminal]sudo vmware-netcfg[/terminal]
Step 4: Deploying the Palo Alto VM Image in VMWare Workstation
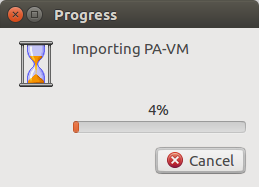
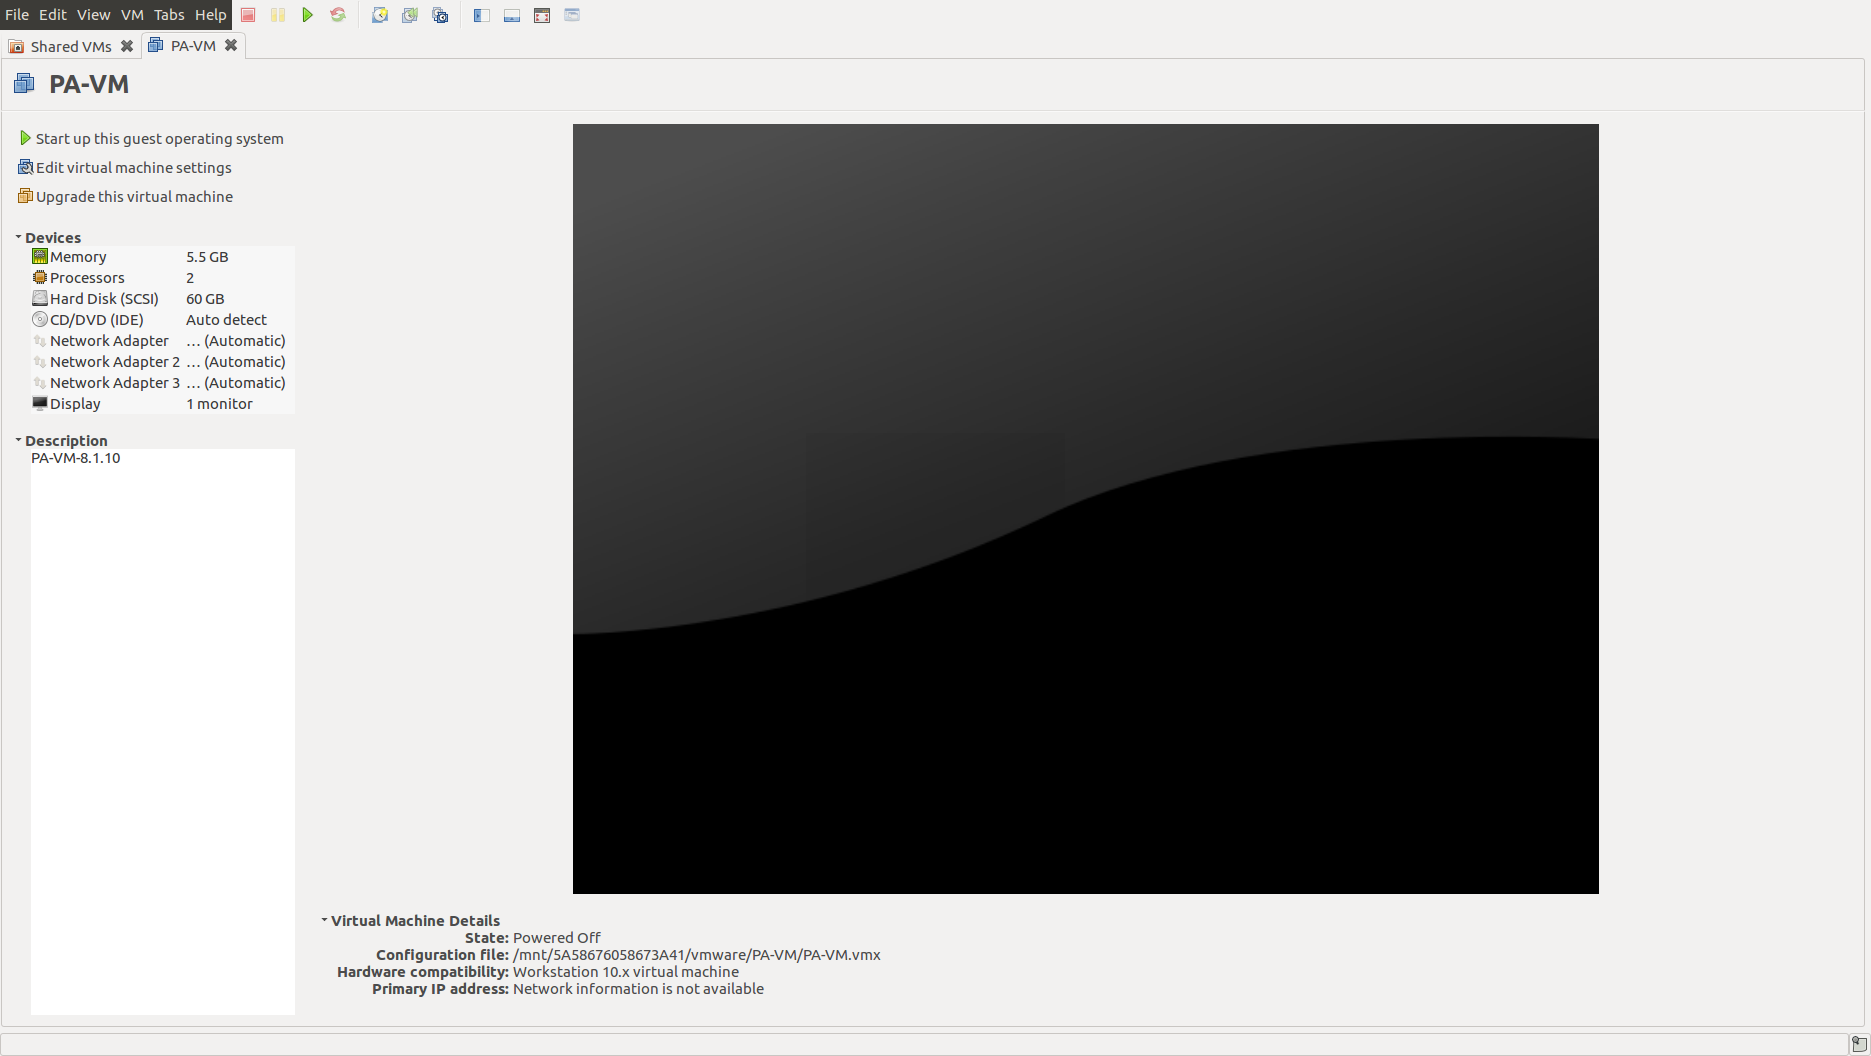
Now time to deploy Palo Alto virtual firewall in VMWare Workstation. Just open the VMWare Workstation and go to Files >> Open (Ctrl+O). Select the ovf file you have download from the support portal. This process will take some time, so have patience. After the successful completion of this process, just modify the assigned virtual network interfaces, memory, and processor. In my case, I’m giving 4GB RAM, 2 Processors, and 4 different virtual network interfaces.
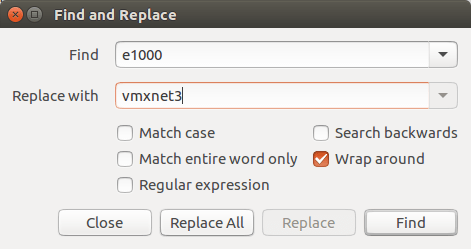
Palo Alto Virtual Firewall only supports vmxnet3 type of virtual interfaces.
Let’s change the Firewall resources by clicking on Edit virtual machine settings. You can check the below image for reference.
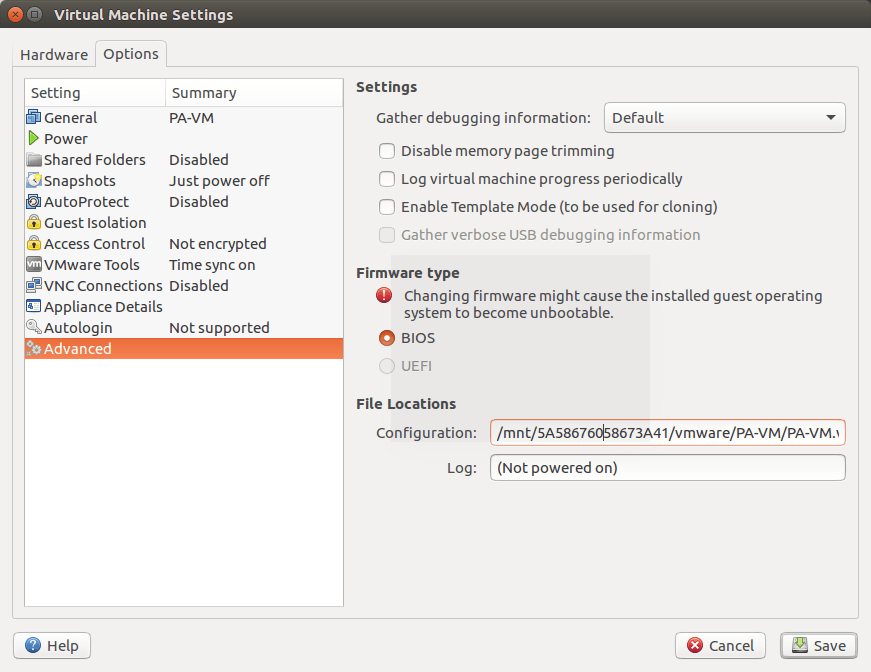
Step 5: Edit the configuration file of Palo Alto VM Firewall
Now, just start the VM Firewall you have just configured and power it off after 5 seconds. Now, right-click on Edit virtual machine settings. Go to Options >> Advanced >> File Location >> Configuration. Now, edit this file using any text editor like gedit or notepad. In this file, you have to search for e1000 and replace it with vmxnet3 and save the file.
Step 6: Configuring the Management Interface of Palo Alto VM Firewall
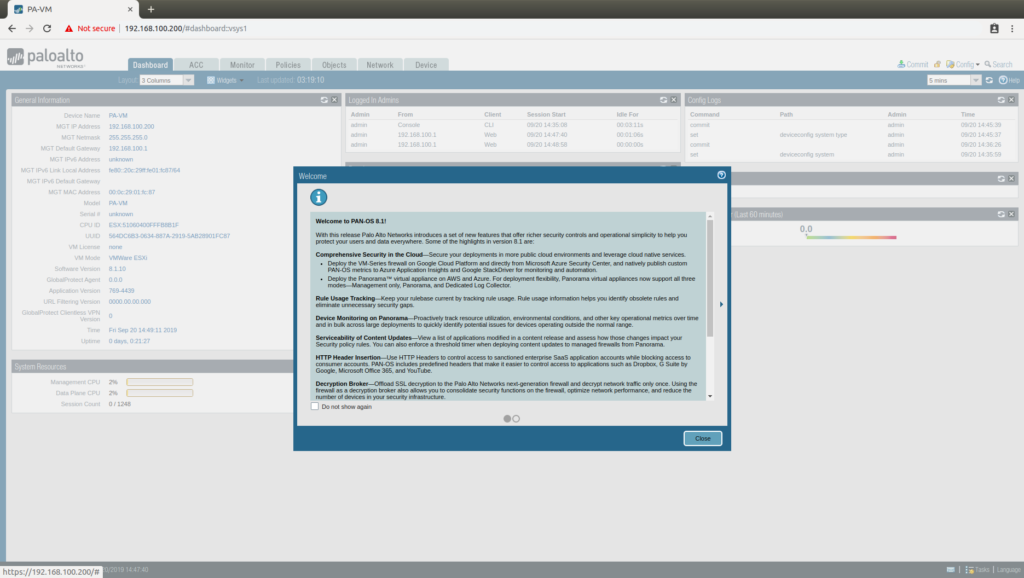
Now, we have just finished the process of deploying the Palo Alto firewall in VMWare Workstation. Now you have to configure an IP address to the Management Port. The first virtual interface will be the management interface. So, assign an IP address in the same range as we assigned in Step 3. This is the first look when you press the power-on button.
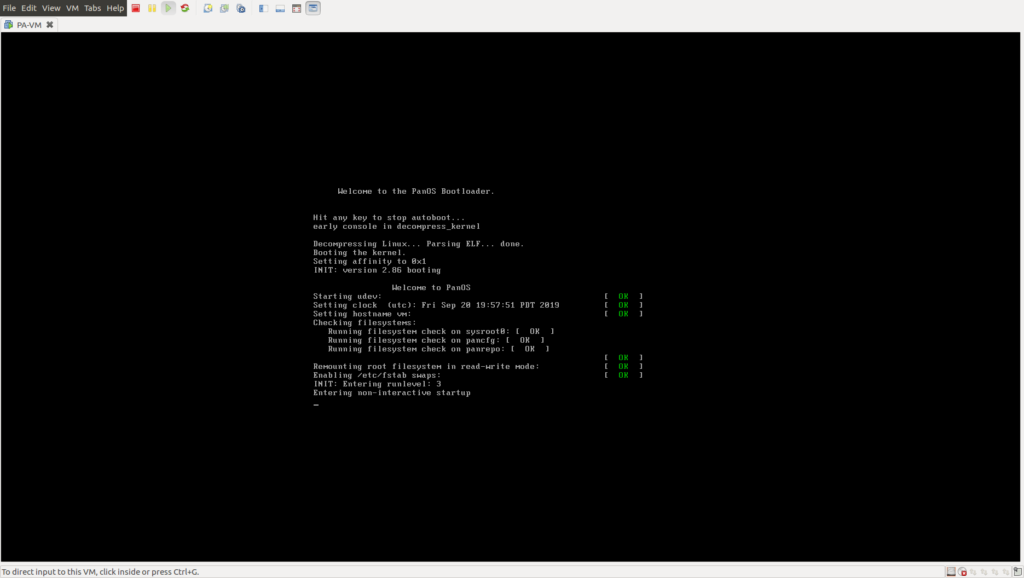
Hint: The default username is admin and password is admin.
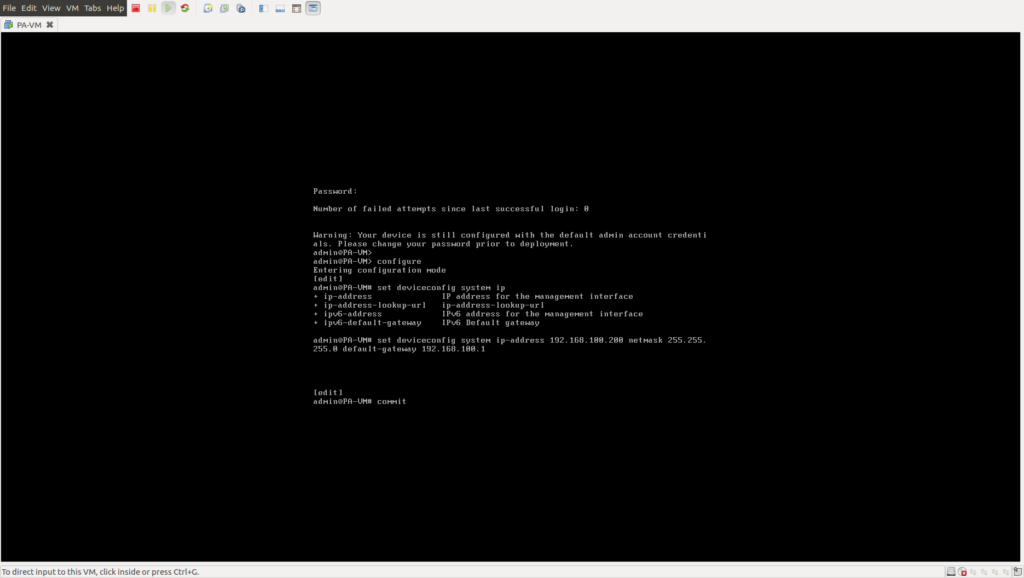
In order to assign the IP address, you have to follow the given commands:
[terminal]configure[/terminal]
[terminal]set deviceconfig system type static[/terminal]
[terminal]set deviceconfig system ip-address 192.168.100.200 netmask 255.255.255.0 default-gateway 192.168.100.1[/terminal]
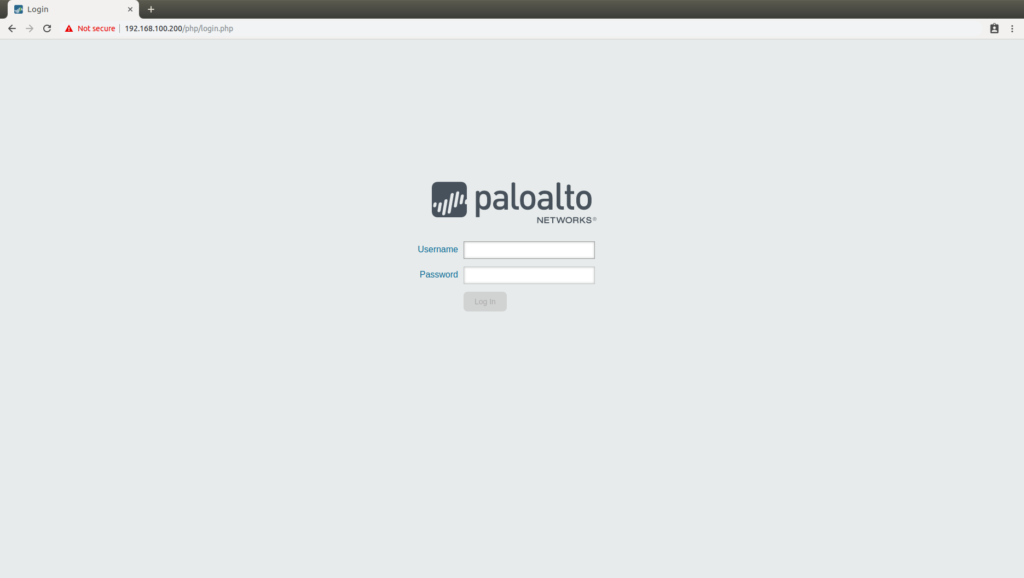
Step 7: Accessing the Palo Alto VM Firewall using GUI (Graphical User Interface)
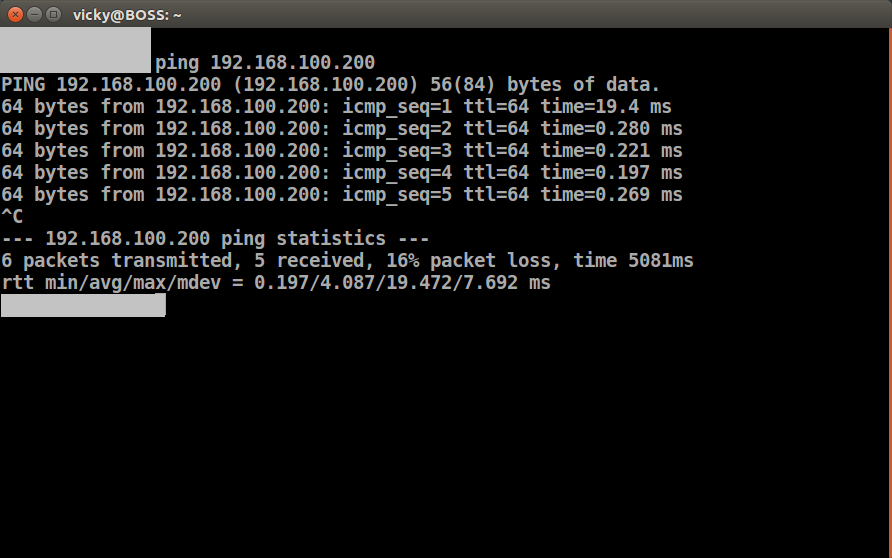
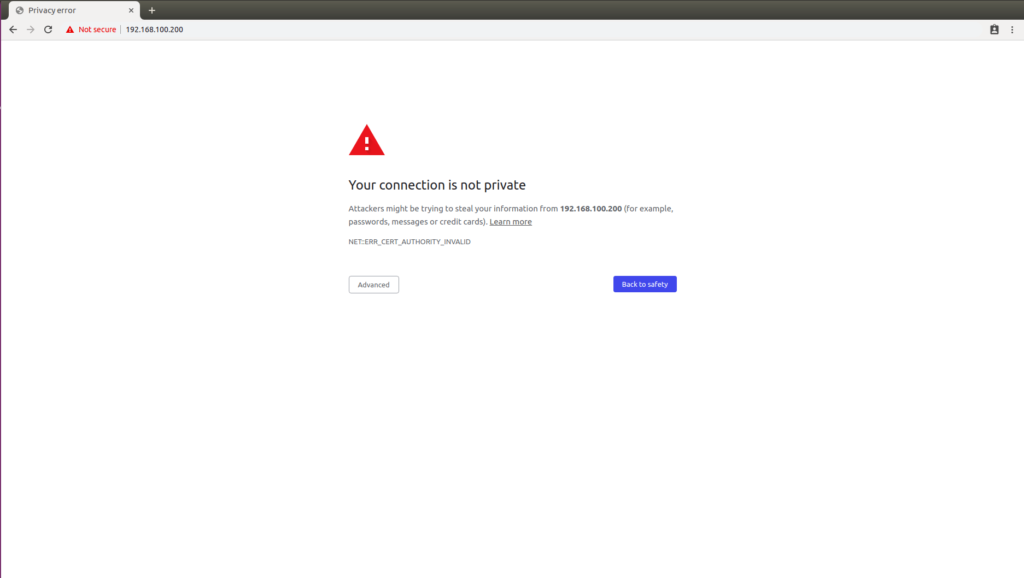
Now, it’s time to testing our configuration and accessing the Palo Alto firewall using GUI. In order to do this, first, we will check the connectivity to our Firewall using the ping utility. After this, we will access the Palo Alto Firewall GUI using it’s management interface IP address.
Related Articles
Summary
In this article, we have discussed how we can deploy the Palo Alto Virtual Firewall in the VMWare workstation. It is required that you have a minimum of 8 GB of RAM and an i5 or i7 processor in order to deploy Palo Alto in VMWare. If you have any difficulties in deploying the firewall in VMware, you can comment in the comment box!
Did you found this article helpful. Just comment in the comment box!