
Hi Guys! In this article, we will discuss how you can deploy the SonicWall Virtual Firewall in VMWare Workstation. You must have to download the SonicWall virtual Firewall ova file from your SonicWall MySonicWall Portal. In VMWare, you can configure the Virtual SonicWall Firewall in Linux as well as Windows environment. Before starting, it’s required you have a minimum of 8GB of RAM with an i5 or i7 processor. So, let’s start!
Step 1: Download SonicWall Virtual Firewall
First of all, you have to download your virtual SonicWall Firewall from your MySonicWall Portal. To do this, visit here, and download the SonicWall NSv 200 appliance. By default, you can issue and activate 30 days trial license to your virtual firewall. Further, you need to buy the licenses from SonicWall.
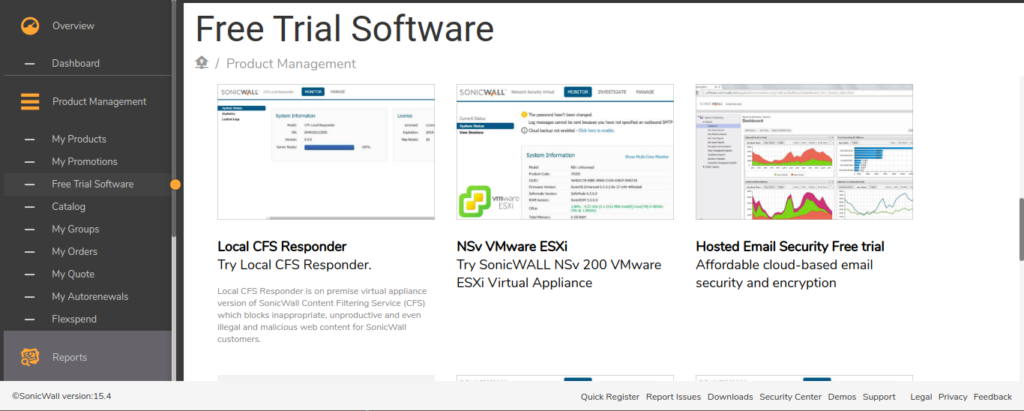
Image Source: SonicWall
Now, we are ready with the SonicWall ova file. Now, follow the next steps.
Step 2: Download and Install VMWare Workstation
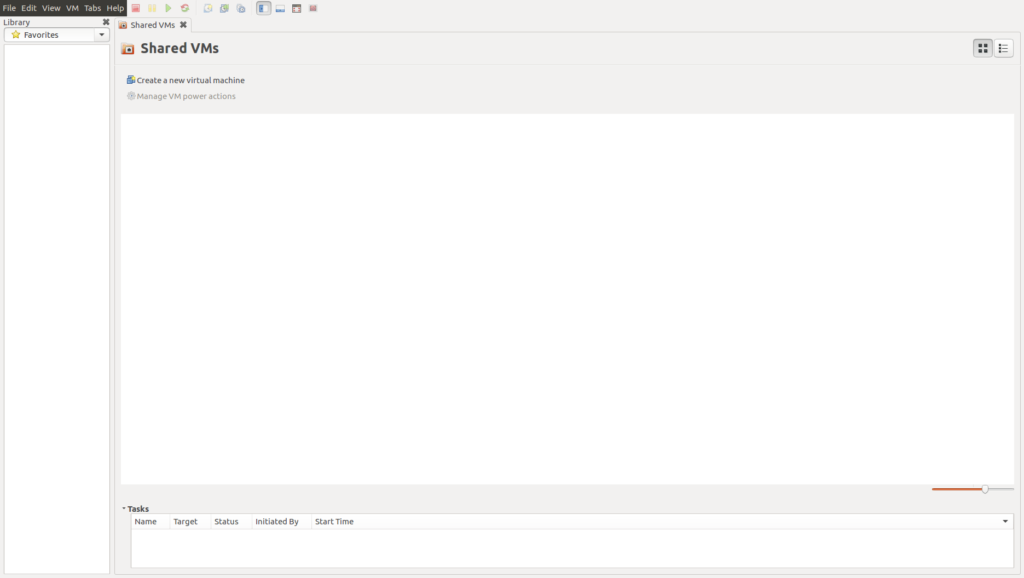
After downloading the Virtual Firewall image, you must have to download and install VMWare Workstation. If you already installed it, just skip this step. To download VMWare Workstation, visit the official website VMWare Workstation or download it from any other source. By default, you get 30 days evaluation period, after that, you can purchase it. Once you have installed it, it will be looks like the below image:
Step 3: Configuring your Virtual Network Interfaces for SonicWall Firewall
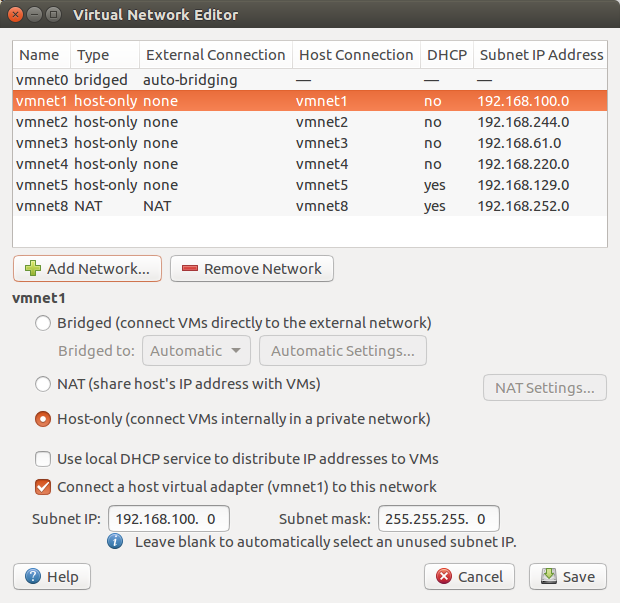
Now, it’s time to configure your Virtual Network Adaptors as per your requirements. By default, there are only two virtual network interfaces, i.e., VMNet1 and VMNet8. So, click on Windows Start Button and search for Virtual Network Editor. If you are using Linux (i.e. Ubuntu, Mint, etc.) you can type the below command to open Virtual Network Editor. Click on the Add Network and make your virtual interface host only. After that, you have to provide the IP address. For example, I am going to use 192.168.100.0/24 for the vmnet1 interface.
[terminal]sudo vmware-netcfg[/terminal]
Step 4: Deploying the SonicWall VM Image in VMWare Workstation
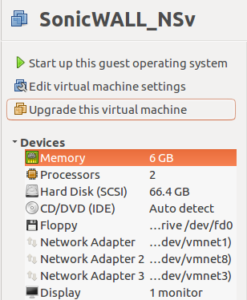
Now time to deploy the SonicWall virtual firewall in VMWare Workstation. Just open the VMWare Workstation and go to Files >> Open (Ctrl+O). Select the ova file you have download from the support portal. This process will take some time, so have patience. After the successful completion of this process, just modify the assigned virtual network interfaces, memory, and processor. In my case, I’m giving 6GB RAM, 2 Processors, and 4 different virtual network interfaces (VMNet1, VMNet8 & VMNet3). As you already know, SonicWall has preconfigured with X0, X1 & X2 interfaces. The VMNet8 interfaces, allows SonicWall to communicate with the Internet and also provide the DHCP IP assignment.
Note: The default IP on X0 (LAN) interface is 192.168.168.168/24.
Note: 2 CPU Cores and 4 GB RAM is minimum requirement for the SonicWall Firewall. SonicWall NSv200 can support maximum 6 GB of RAM.
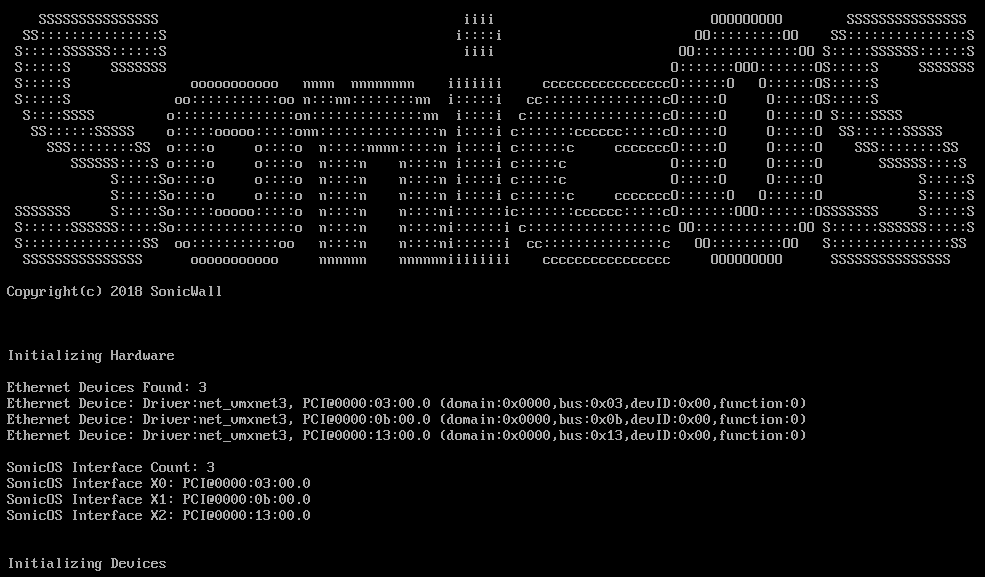
Now, power on the SonicWall Firewall to get started! You can get below the screen while the SonicWall Firewall will get booting.
The SonicWall NSv 200 Firewall will take upto 5-6 minutes to complete the booting process.
Step 5: Configuring the SonicWall Firewall to get Management Access
Now, we have just finished the process of deploying the SonicWall firewall in the VMWare Workstation. Since we assign the VMNet8 to the X1 interface. So, we will get an IP from the DHCP. By default, you will get access through the auto-assigned WAN ip address. You can check the ip address of the WAN interface (X1) using the below guide.
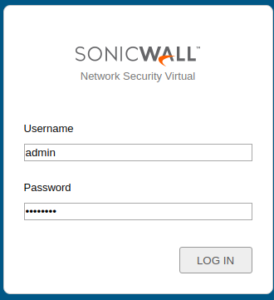
Hint: The default username is admin and password is password.
[terminal]show interfaces ip[/terminal]

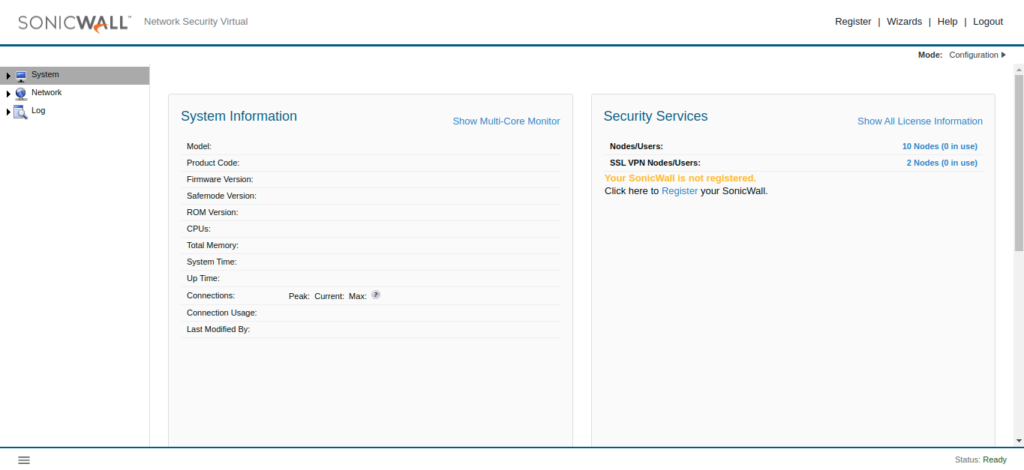
Step 6: Accessing the SonicWall VM Firewall using GUI (Graphical User Interface)
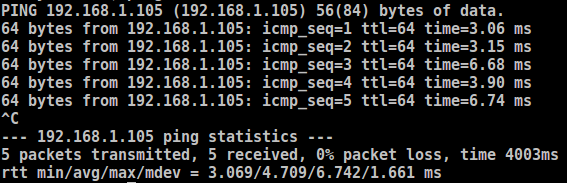
Now, it’s time to testing our configuration and accessing the SonicWall firewall using GUI. To do this, first, we will check the connectivity to our Firewall using the ping utility. After this, we will access the SonicWall Firewall GUI using its X1 (WAN) IP address.
Note: You can disable the MGMT access on X1 (WAN) Interface!
Step 7: Last Step (What to do the Next!)
In the previous step, we accessed the Firewall GUI on a web browser. However, we need to do the rest of the parts. If you learning the SonicWall Firewall, you just need to complete the licensing part. Also, you can change the X0 default IP address i.e. 192.168.168.168/24. You can also configure DMZ and Other zones.
Related Articles
- SonicWall Next-Gen Firewall Labs & Articles
- Palo Alto Firewall Labs Demos and Articles
- FortiGate Firewall Training
Summary
In this article, we have discussed how we can deploy the SonicWall Virtual Firewall in the VMWare workstation. It is required that you have a minimum of 4 GB of RAM and an i5 or i7 processor to deploy SonicWall in VMWare. If you have any difficulties in deploying the firewall in VMware, you can comment in the comment box!
Did you found this article helpful? Please comment your views in the comment box!